
Learn how to make a cherry pie! This easy recipe features a thick, almond-scented cherry pie filling and a flaky all-butter crust. It’s SO delicious!
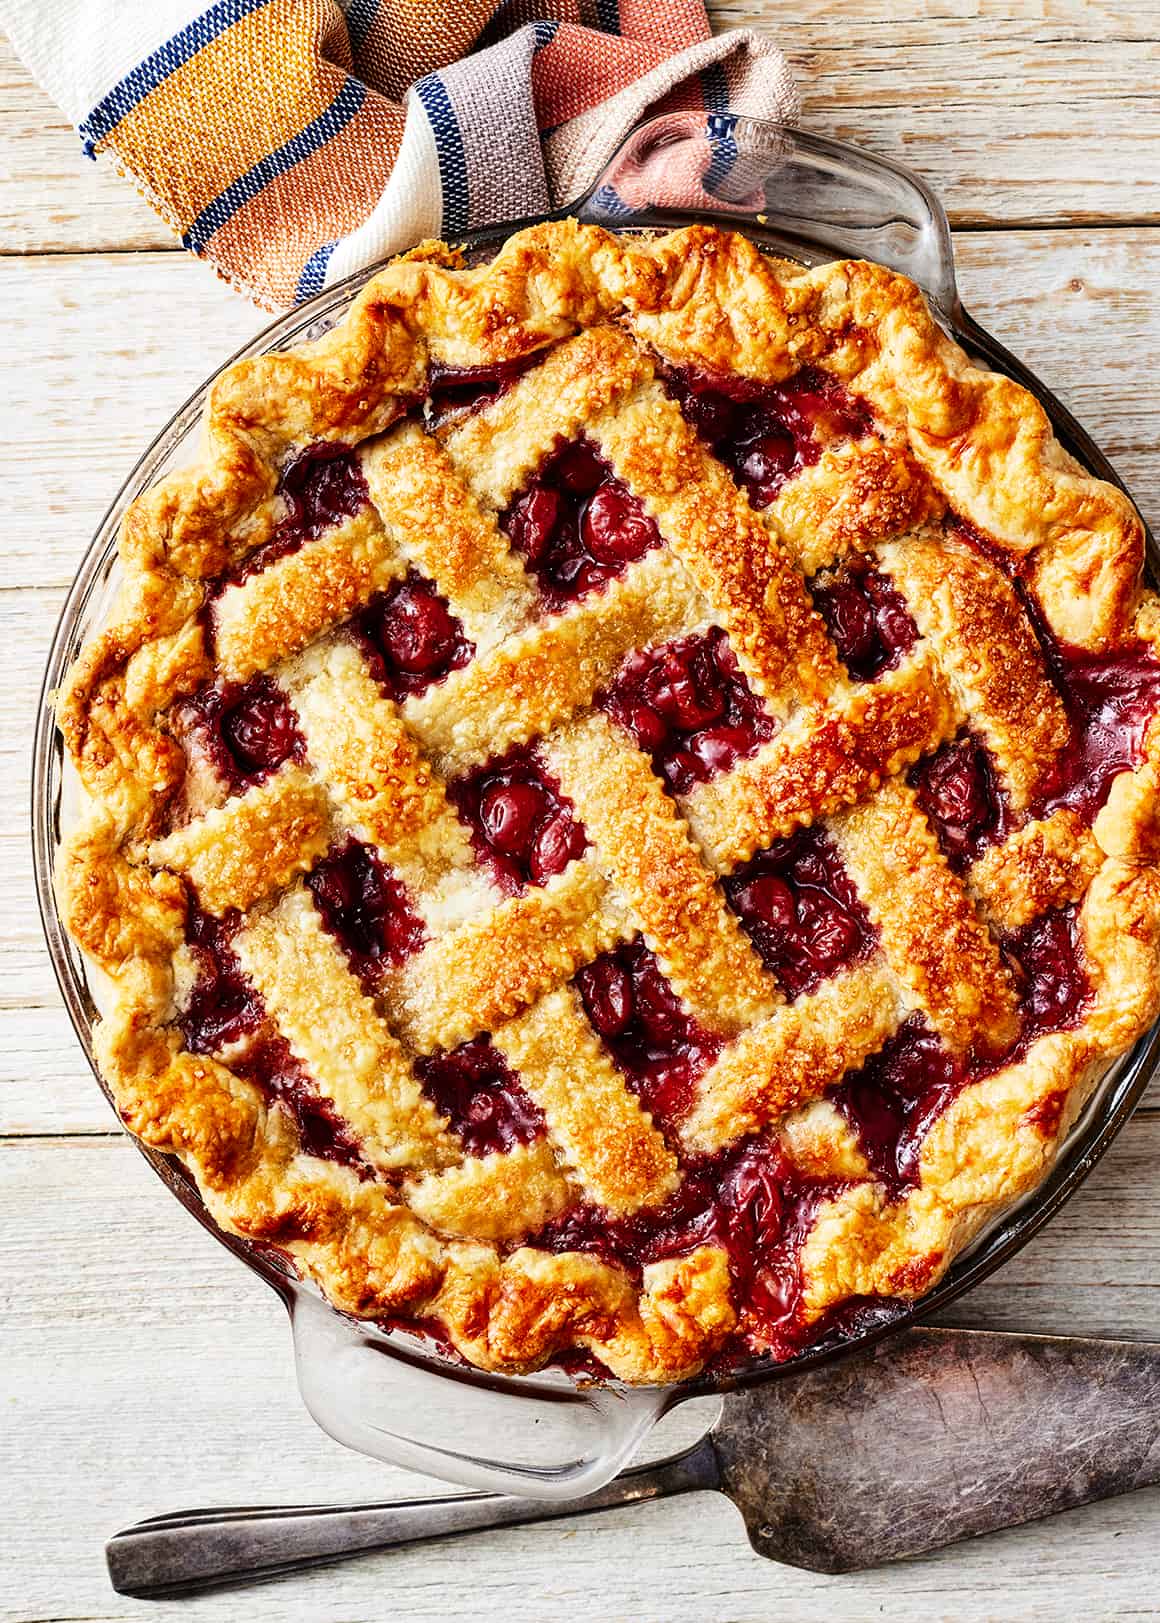
This cherry pie recipe is one of my favorite homemade desserts. It features a buttery, flaky crust and a velvety, almond-scented filling. If you allow it to cool completely, it slices beautifully, but the filling still stays a tiny bit juicy so that you can savor the cherries’ delicious texture.
This cherry pie recipe is simple to make. But heads up: it does take some time. The pie dough has to chill and the filling has to cool before you can assemble and bake the pie. If you want to get ahead, you can make both the crust and the filling a day or two in advance—find my tips in the post below.
I hope you love this cherry pie recipe as much as I do!

Cherry Pie Recipe Ingredients
Here’s what you’ll need to make this homemade cherry pie recipe:
- Cherries, of course! Tart cherries, also called sour cherries, are best in this recipe. You can use sweet cherries if you prefer—just note that they make the pie taste sweeter. These days, I mostly use frozen cherries in my pie filling, as they’re readily available year-round. If you have easy access to fresh cherries, though, they’ll work here too. You’ll need 2 pounds after you pit them, about 5 cups.
- Cornstarch and water – They create a slurry that thickens the cherry pie filling.
- Cane sugar – It sweetens the filling.
- Cinnamon and ground ginger – For warm depth of flavor.
- Almond extract – Cherry + almond are a perfect pairing. If you don’t have almond extract on hand, vanilla extract is a good substitute.
- Pie crust – I love my flaky, buttery homemade pie crust, but you could substitute store-bought pie dough in a pinch.
- An egg – You’ll beat it with a little water to make an egg wash for the crust.
- Coarse sugar – Optional, but delicious. It adds sparkle and sweetness to the top of the crust.
- And vanilla ice cream – For serving.
Find the complete recipe with measurements below.

How to Make Cherry Pie Filling
The key to making a great cherry pie filling is thickening the cherry juices on the stove before you add the filling to the pie. This easy step will minimize the amount of juice that seeps into the crust and makes it soggy. It will also help the pie slice nicely once it cools. Here’s how I make my filling:
- Start with 2 pounds of thawed frozen cherries. Place the cherries in a strainer set over a bowl to capture their juices. Measure 1 cup of the juice. If you don’t have 1 cup, microwave the cherries for 15 seconds or so, and they’ll release more juice. Repeat until you have 1 cup of cherry juice. Save any extra for another use.
- Then, make a cornstarch slurry. In a small bowl, whisk together the cornstarch and water until smooth.
- Next, thicken the juices. Place the 1 cup cherry juice in a small saucepan and bring to a boil. Stir in the sugar and return the mixture to a boil. Once the sugar dissolves, add the cornstarch slurry and stir until the mixture thickens. It will become clear, smooth, and glossy.
- Finally, mix up the filling. Transfer the thickened cherry juices to a large bowl with the cherries. Stir in the spices, almond extract, and a pinch of salt.
Then, allow the filling to cool completely. If you’ve ever made homemade pie dough, you know that the name of the game is keeping it cold until it goes in the oven. To help keep it cold, we want to add a cool filling to it, not a warm one.

Assembling the Pie
When the filling has cooled and the pie dough has chilled for two hours or longer, it’s time to assemble the pie!
First, roll out the crust according to the instructions in this recipe. Stick it in the fridge to chill for 30 minutes.
Meanwhile, preheat the oven. Arrange a rack in the bottom third of the oven, and set a baking sheet on it. Preheat the oven to 425°F with the baking sheet inside it.
Then, assemble the pie! Pour the cooled filling into the bottom crust.

Next, weave a lattice on top. Slice the top crust into 1-inch strips. Arrange 4 or 5 strips crosswise over the top of the pie. Weave 4 or 5 strips through them to make a lattice.

Pull back the strips as necessary to weave.

Trim the edges of the lattice, then fold the edge of the bottom crust up and over it so that the edge of the dough is in line with the edge of your pie plate.

Crimp the dough with your fingers or a fork.

Brush the egg wash onto the lattice. Tip: JUST the lattice! The edges of the dough will brown on their own, so there’s no need to brush it onto them.

Sprinkle on the coarse sugar.
Finally, bake. Place the pie on the preheated baking sheet in the oven. Bake for 20 minutes, then reduce the heat to 375°F and bake until the filling is bubbling and the crust is golden brown.
Now for the hard part! Allow the pie to cool completely before you slice it. This will take about 4 hours. It might be hard to resist digging in right away, but allowing the pie to cool fully is crucial for getting a clean slice.

Cherry Pie Recipe Tips
- Keep the pie dough cold. When you bake an all-butter pie crust, you want the butter in the pie dough to melt in the oven, creating gorgeous flaky layers. For the best results, keep the dough cold while you assemble the pie. Chill it for at least 2 hours before rolling it out. I also like to chill the dough for 30 minutes after I roll it out and make sure the filling is completely cool before adding it to the pie.
- Tent the pie with foil if it’s getting too brown. Your cherry pie is ready when the crust is golden brown and the filling has been bubbling for several minutes. If the crust is getting too brown before the filling is bubbling, tent it with foil to minimize additional browning.
- Allow the pie to cool completely before you slice it. If you slice and serve the pie while it’s still warm, the filling will ooze out of the crust. For a clean slice, let it cool completely after you take it out of the oven. 4 hours are best, but if you can’t wait that long, try to let it cool for at least 2.
Should you par-bake the crust of a cherry pie?
In this recipe, you don’t need to!
Thickening the cherry juices on the stovetop prevents too much liquid from seeping into the crust as it bakes.
Baking the pie in the lower third of your oven helps too. In most ovens, the heating elements run along bottom, so placing the pie on a low rack brings the bottom crust closer to the heat source.
I also like to place the pie on a preheated baking sheet (a tip I learned from Melissa Clark at The New York Times) to jumpstart the browning of the bottom crust.

Storage and Make-Ahead Instructions
This cherry pie is best on the day that it’s baked, but it keeps nicely for up to 3 days. Cover it and store it at room temperature until you polish off the last slice, preferably with a scoop of vanilla ice cream.
If all the cooling and chilling time seems like a lot for one day, you can make both the pie dough and the filling in advance. Wrapped tightly in plastic, the pie dough keeps well in the fridge for up to 2 days. Stored in an airtight container in the fridge, the cooked filling keeps well for up to 4. With both prepped ahead of time, it’s easy to assemble and bake the pie in one day.
Enjoy!

More Favorite Fruity Desserts
If you love this cherry pie recipe, try one of these fruity desserts next:

Cherry Pie
Serves 8
This sour cherry pie recipe is a delicious summer dessert, though it can easily be made with frozen cherries at any time of year. To get ahead, you can make the pie dough and the cherry pie filling a day or two in advance. See the post above for tips! This recipe makes 1 9- or 9.5-inch pie.
- 2 pounds frozen pitted tart cherries, thawed, juices reserved
- ¼ cup cornstarch
- ¼ cup plus 1 tablespoon water
- ¾ cup cane sugar
- ½ teaspoon cinnamon
- ½ teaspoon ground ginger
- ¼ teaspoon almond extract
- Pinch salt
- 1 recipe Pie Crust, chilled at least 2 hours
- 1 large egg
- Coarse sugar, optional
- Vanilla ice cream, for serving
Prevent your screen from going dark
-
Place the cherries in a strainer set over a bowl to capture the excess juices. Measure 1 cup of the cherry juice.* Save any remaining juice for another use. Transfer the cherries to a large bowl.
-
In a small bowl, stir together the cornstarch and ¼ cup of the water until smooth. Set aside.
-
Place the 1 cup cherry juice in a small saucepan and bring to a boil. Add the sugar, stir, and return the mixture to a boil. When the sugar is dissolved, add the cornstarch mixture and stir until the juices thicken and become clear and glossy. Remove from the heat and pour over the cherries. Stir in the cinnamon, ginger, almond extract, and salt. Allow to cool completely.
-
Make the bottom crust. Follow the instructions in the pie crust recipe to roll out the bottom crust, leaving a ½-inch overhang on all sides of the pie plate. Loosely cover with plastic wrap and chill for 30 minutes. Arrange an oven rack in the bottom third of the oven. Place a baking sheet on the rack and preheat the oven to 425°F with the baking sheet inside it.
-
Meanwhile, make the top crust. Use the same method to roll out the remaining pie dough. Transfer it to a baking sheet, loosely cover it with plastic wrap, and place in the fridge until the bottom crust has chilled for 30 minutes.
-
Assemble the pie. In a small bowl, whisk together the egg and the remaining 1 tablespoon water. Set aside.
-
Remove the bottom crust from the refrigerator and pour in the cooled filling. Transfer the top crust to a cutting board and use a sharp knife or pizza cutter to cut it into 1-inch strips. Evenly space 4 to 5 strips crosswise over the pie. Weave 4 to 5 more strips through the crosswise strips to create a lattice, pulling back the original strips as necessary to weave. Trim the edges of the lattice, then fold the edges of the bottom crust up and over it so that the edge of the dough is in line with the edge of the pie plate. Crimp the dough with your fingers or a fork to seal.
-
Brush the lattice with the egg wash and sprinkle with coarse sugar, if using. Place the pie on the hot baking sheet in the oven. Bake for 20 minutes, then reduce the heat to 375°F and bake for 40 to 50 minutes, or until the crust is golden brown and the filling has been bubbling for several minutes. If the edges of the crust start to brown too much before the filling is bubbling, tent them with foil and continue baking until the filling bubbles.
-
Allow to cool completely before slicing and serving, about 4 hours.
-
Serve with vanilla ice cream.
*If you do not have 1 cup juice, microwave the cherries for 15 seconds, and they’ll release more. Repeat until you have 1 cup juice. Save any extra juice for another use.
Adapted from Joan Nothern’s cherry pie recipe